Step 4. Install the MobileConnect Station
There are two versions of the MobileConnect Station (MCS) hardware:
MCS v1

MCS v2

Note
In order to use a MobileConnect Station v1, you need to upgrade its firmware. For details, see section Upgrading a Legacy MobileConnect Station.
Connect the Station
Connect your Station to the network
Use LAN2 (MCS v1) or PoE/Stream (MCS v2) port to connect your streaming network.
Use LAN3 (MCS v1) or Ctrl (MCS v2) port optionally to connect a second network for configuration. If you do not wish to use a separate network, and the port is not connected, the system will use the streaming network for control as well.
Note
The network ports use DHCP by default. To configure a static IP using the local admin interface see Configure Your Station Using the Local Admin Interface.
Warning
If you configured a static or dynamic IP address in the 192.168.0.x subnet -> you need to connect both the streaming and control port to the same network, for the Station to be able to connect to the Manager.
Do not use the address 192.168.0.10 on your streaming or control interfaces.
If you use DHCP and 192.168.0.x/24, make sure that your DHCP-Server is not leasing 192.168.0.10.
Connect your audio inputs
For MCS v1 you can connect any of the inputs.
For MCS v2 you can use the analog or Dante inputs.
Power on
For MCS v1 press the power button.
For MCS v2 provide a PoE source on the PoE/Stream port.
Configure the MobileConnect Station in your Manager web interface.
Open the MobileConnect Manager interface (e.g. at https://mc-manager.yourdomain.com or https://your-manager-hostname).
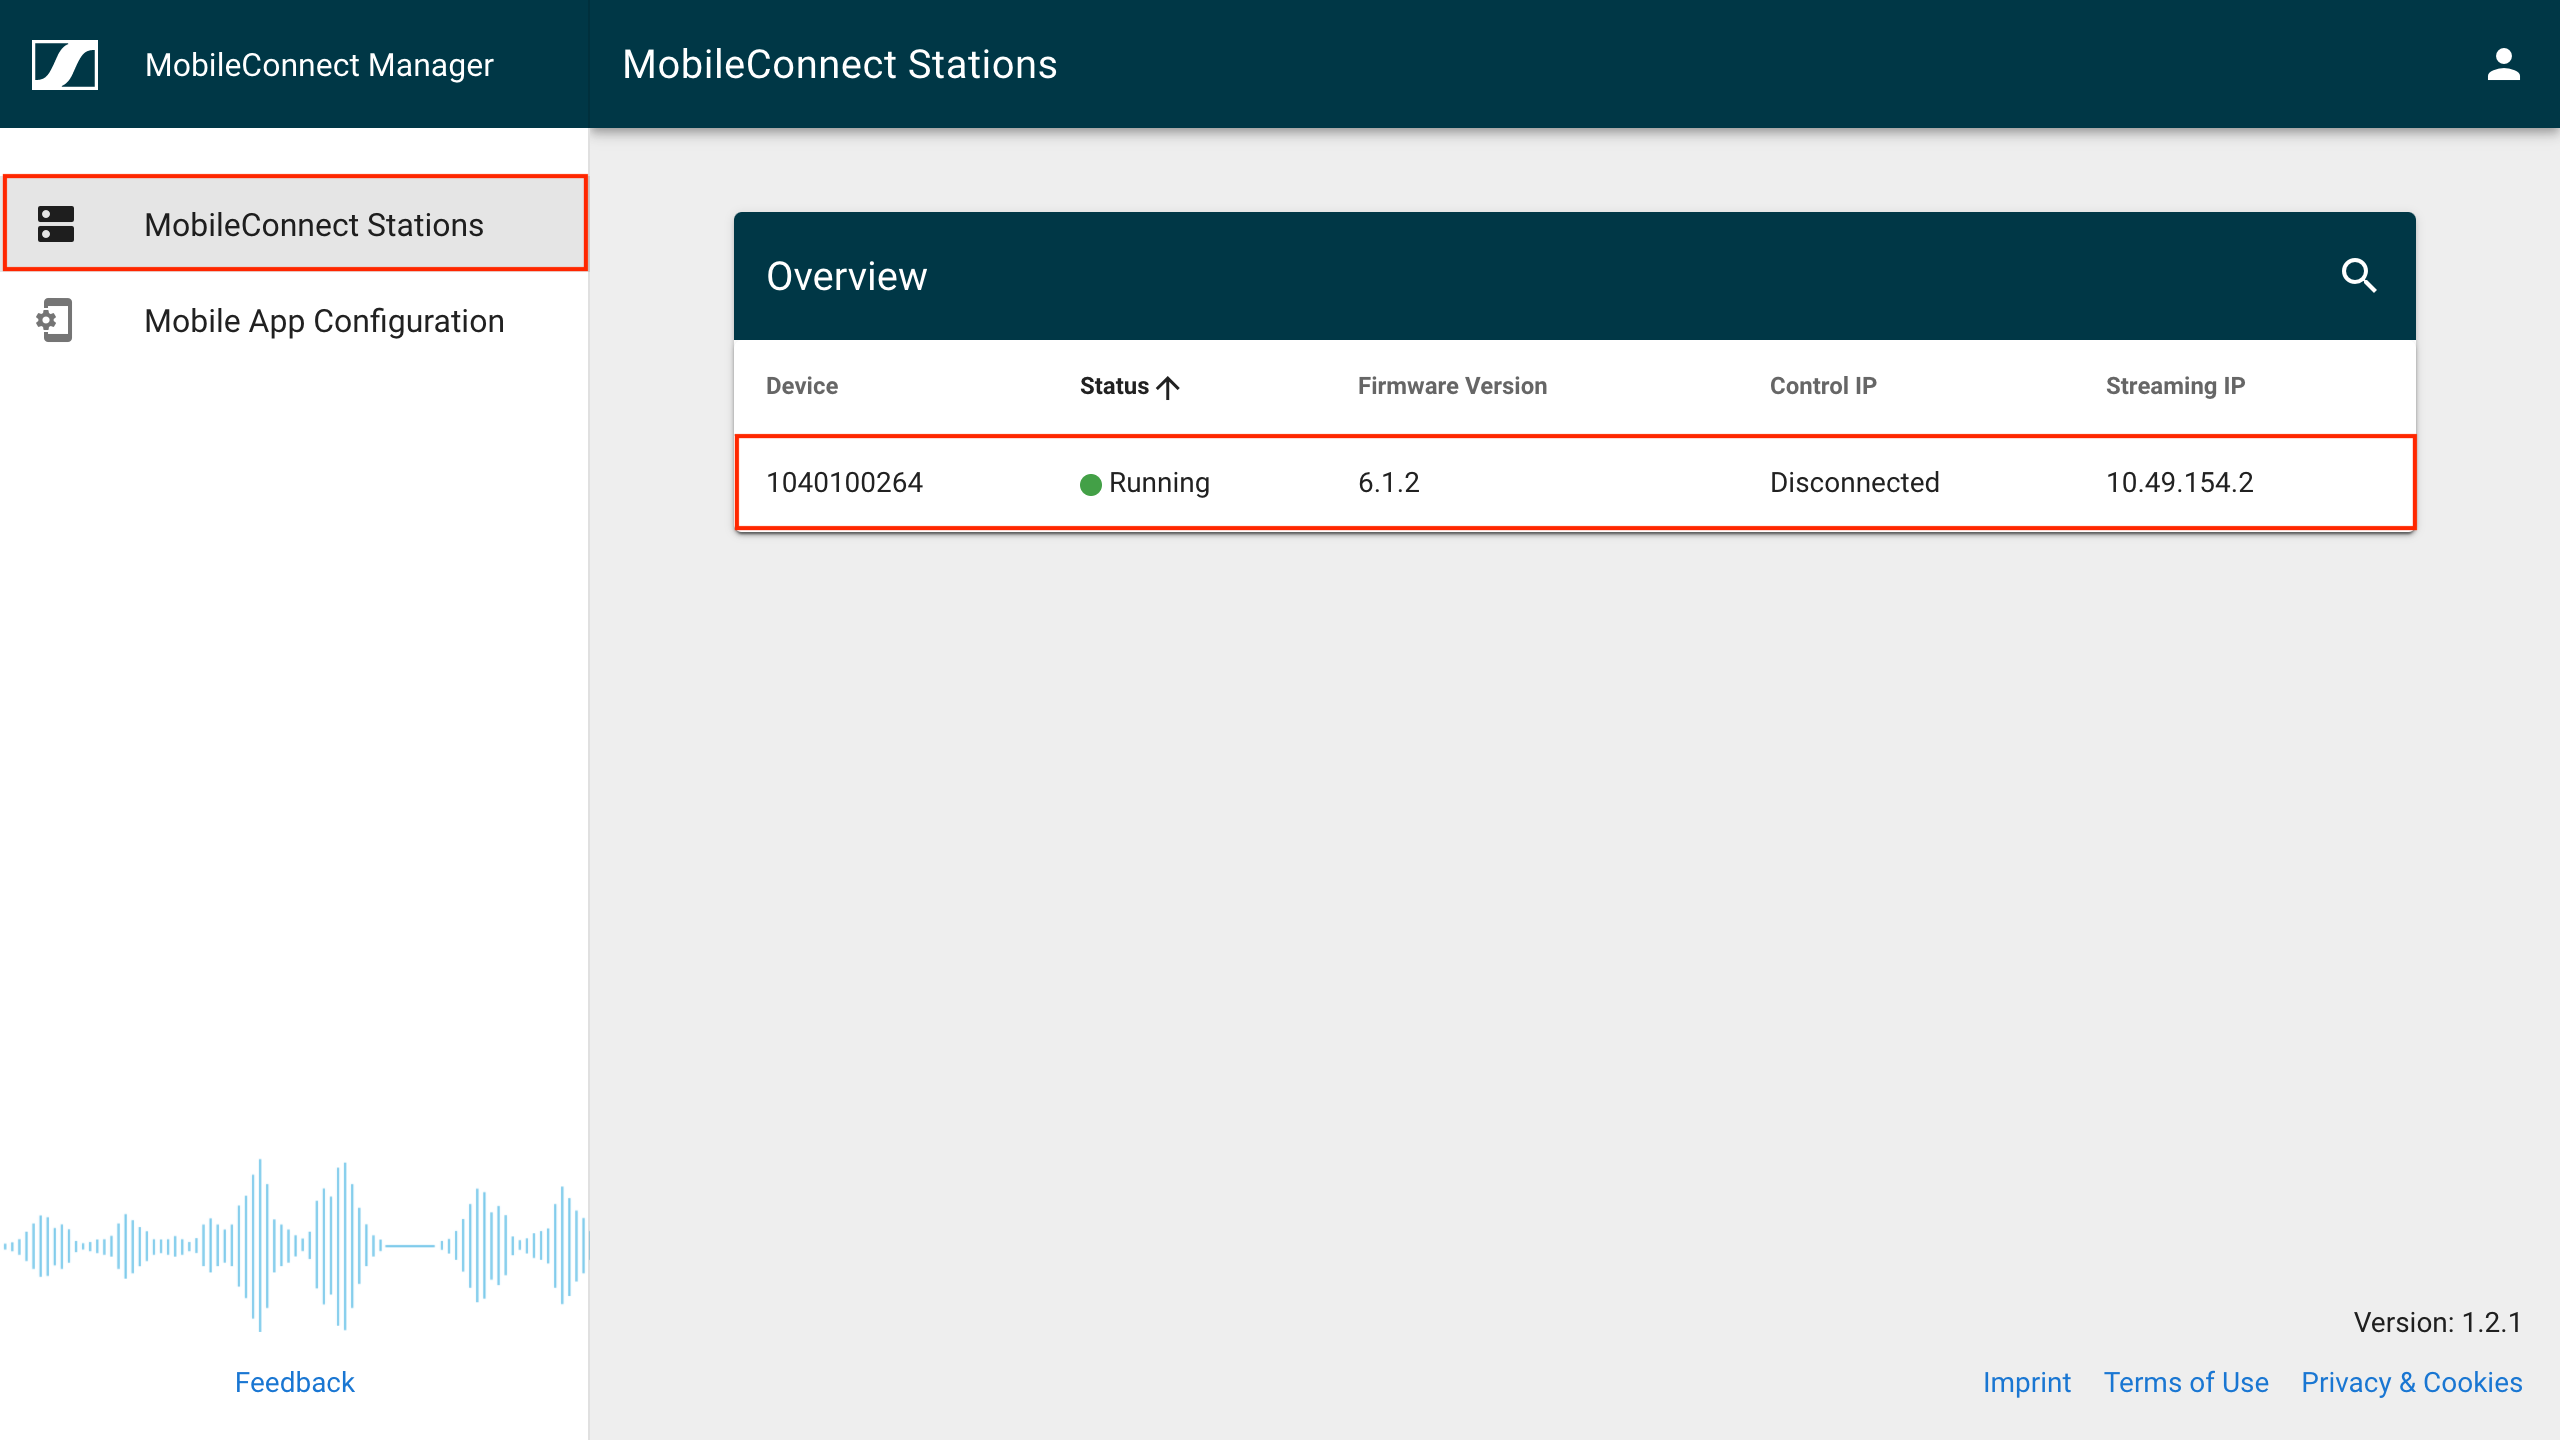
Your MobileConnect Station should be shown on the MobileConnect Stations page.
Depending on the firmware version you may be required to update it and authorized it. Click on the Station to proceed. For more information see Security & Authorization.
Once your Station is authorized it will have Status Running.
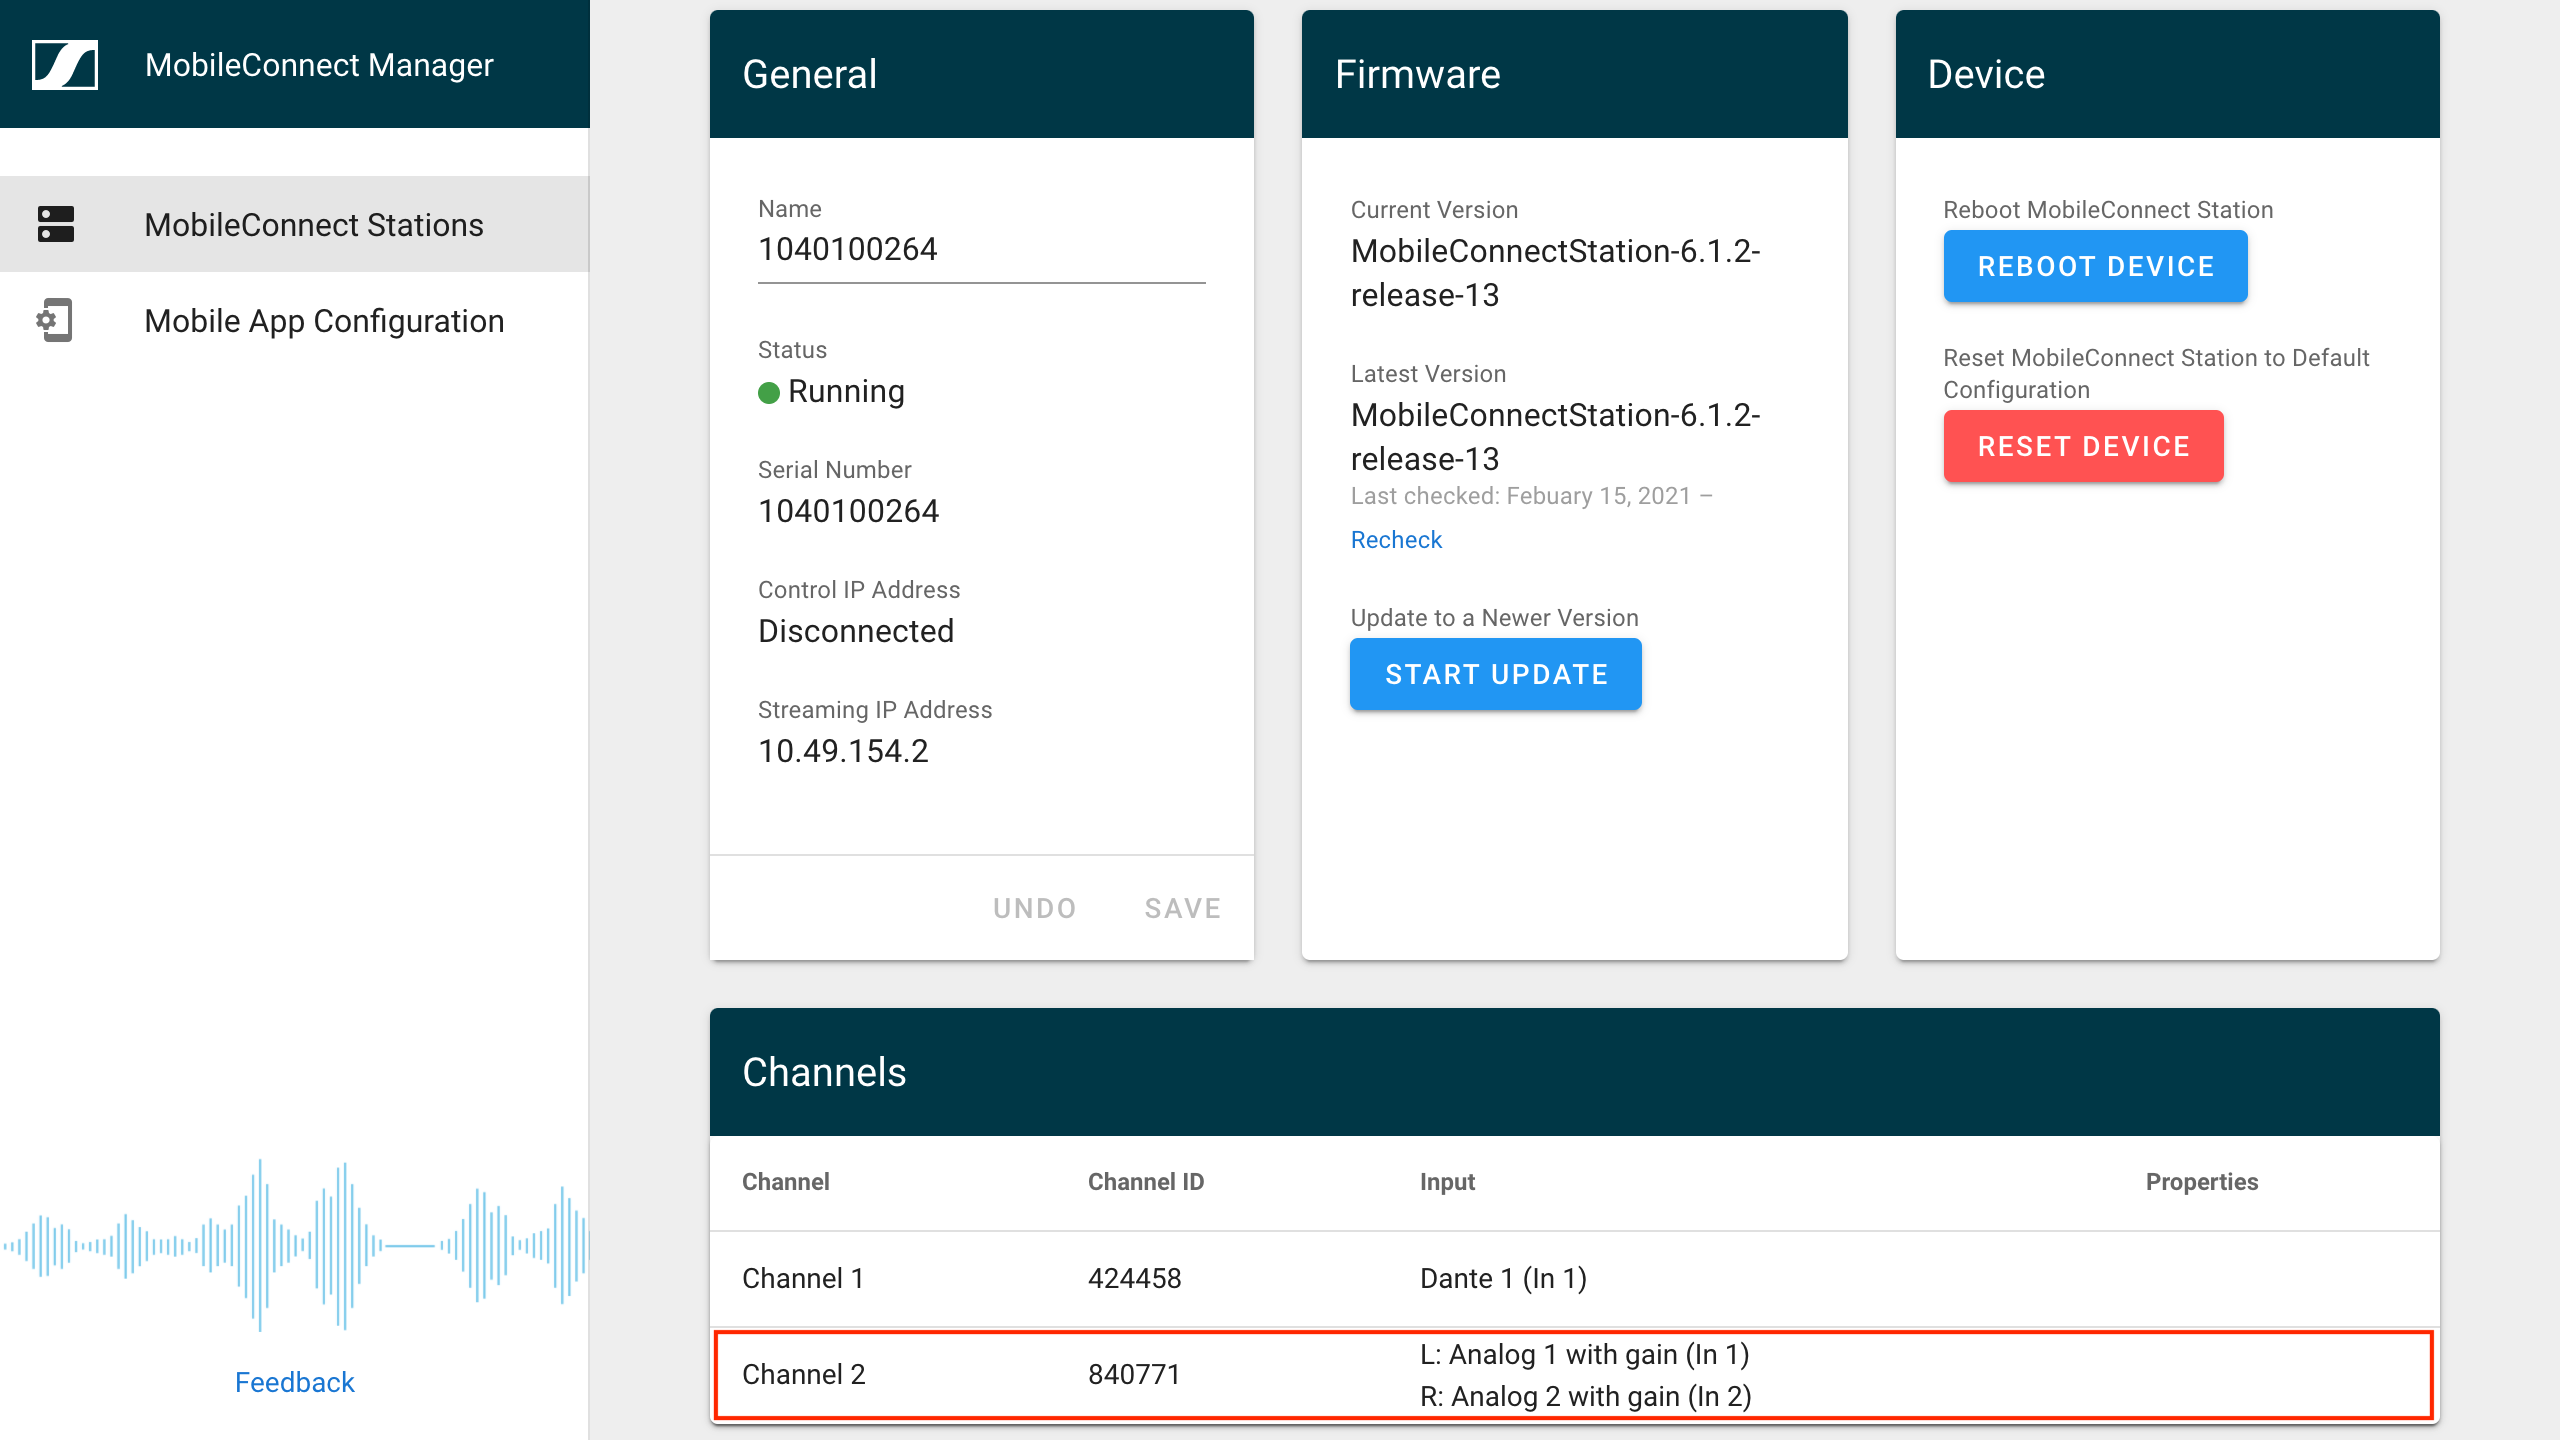
Select your Station to enter the Station’s page. Here you can configure the Station’s network and audio. For more, see Configure Your System Using the Manager.
Next you can set up your audio streaming channels, for more see the next section Streaming Channel Set-up and Channel-Access-Methods.
Note
The Station is configured in Manager Mode by default. In case it is not connecting to your Manager, check that the Manager Mode is selected by following the instructions in Change the Intergation Mode.
Note
The Station uses DNS discovery to find the Manager by default. In case you are using two separate networks for streaming and control, you can configure the fixed Manager IP address on your Station, instead of using DNS discovery. To do that, follow the instructions in Configure the Manager IP Adrress on the Station. You still need DNS configuration in the streaming network, for the apps to access the streaming channels.
In case of problems, see section Troubleshooting.
Audio Channel Set-up and Access Methods
Methods for joining an audio channel
MobileConnect offers three different ways of joining the right audio channel for the end-user:
A click on a visible channel within the app.
The app user has to open up the MobileConnect app and select the right channel within the discovered list of channels and the audio distribution starts instantly.
Joining a channel by scanning a QR code
The app user clicks on the QR code icon within the app and scans the provided MobileConnect QR code and the audio distribution starts instantly. Note that the app user has to enable the camera usage for the MobileConnect app on their phone to make this possible. Hidden and visible channels can be accessed with this method.
Joining a channel by entering the channel ID.
The app user enters the channel ID within the app and the audio distribution starts instantly. Hidden and visible channels can be accessed with this method.
Audio Channel Set-up
Step 1: Configure the audio channels
After the MobileConnect Station is completely integrated and visible within the MobileConnect Manager it is possible to configure the audio channels for the app users.
Select the MobileConnect Station that should be configured from the MobileConnect Stations page.
Select the audio channel that should be configured for the app users.
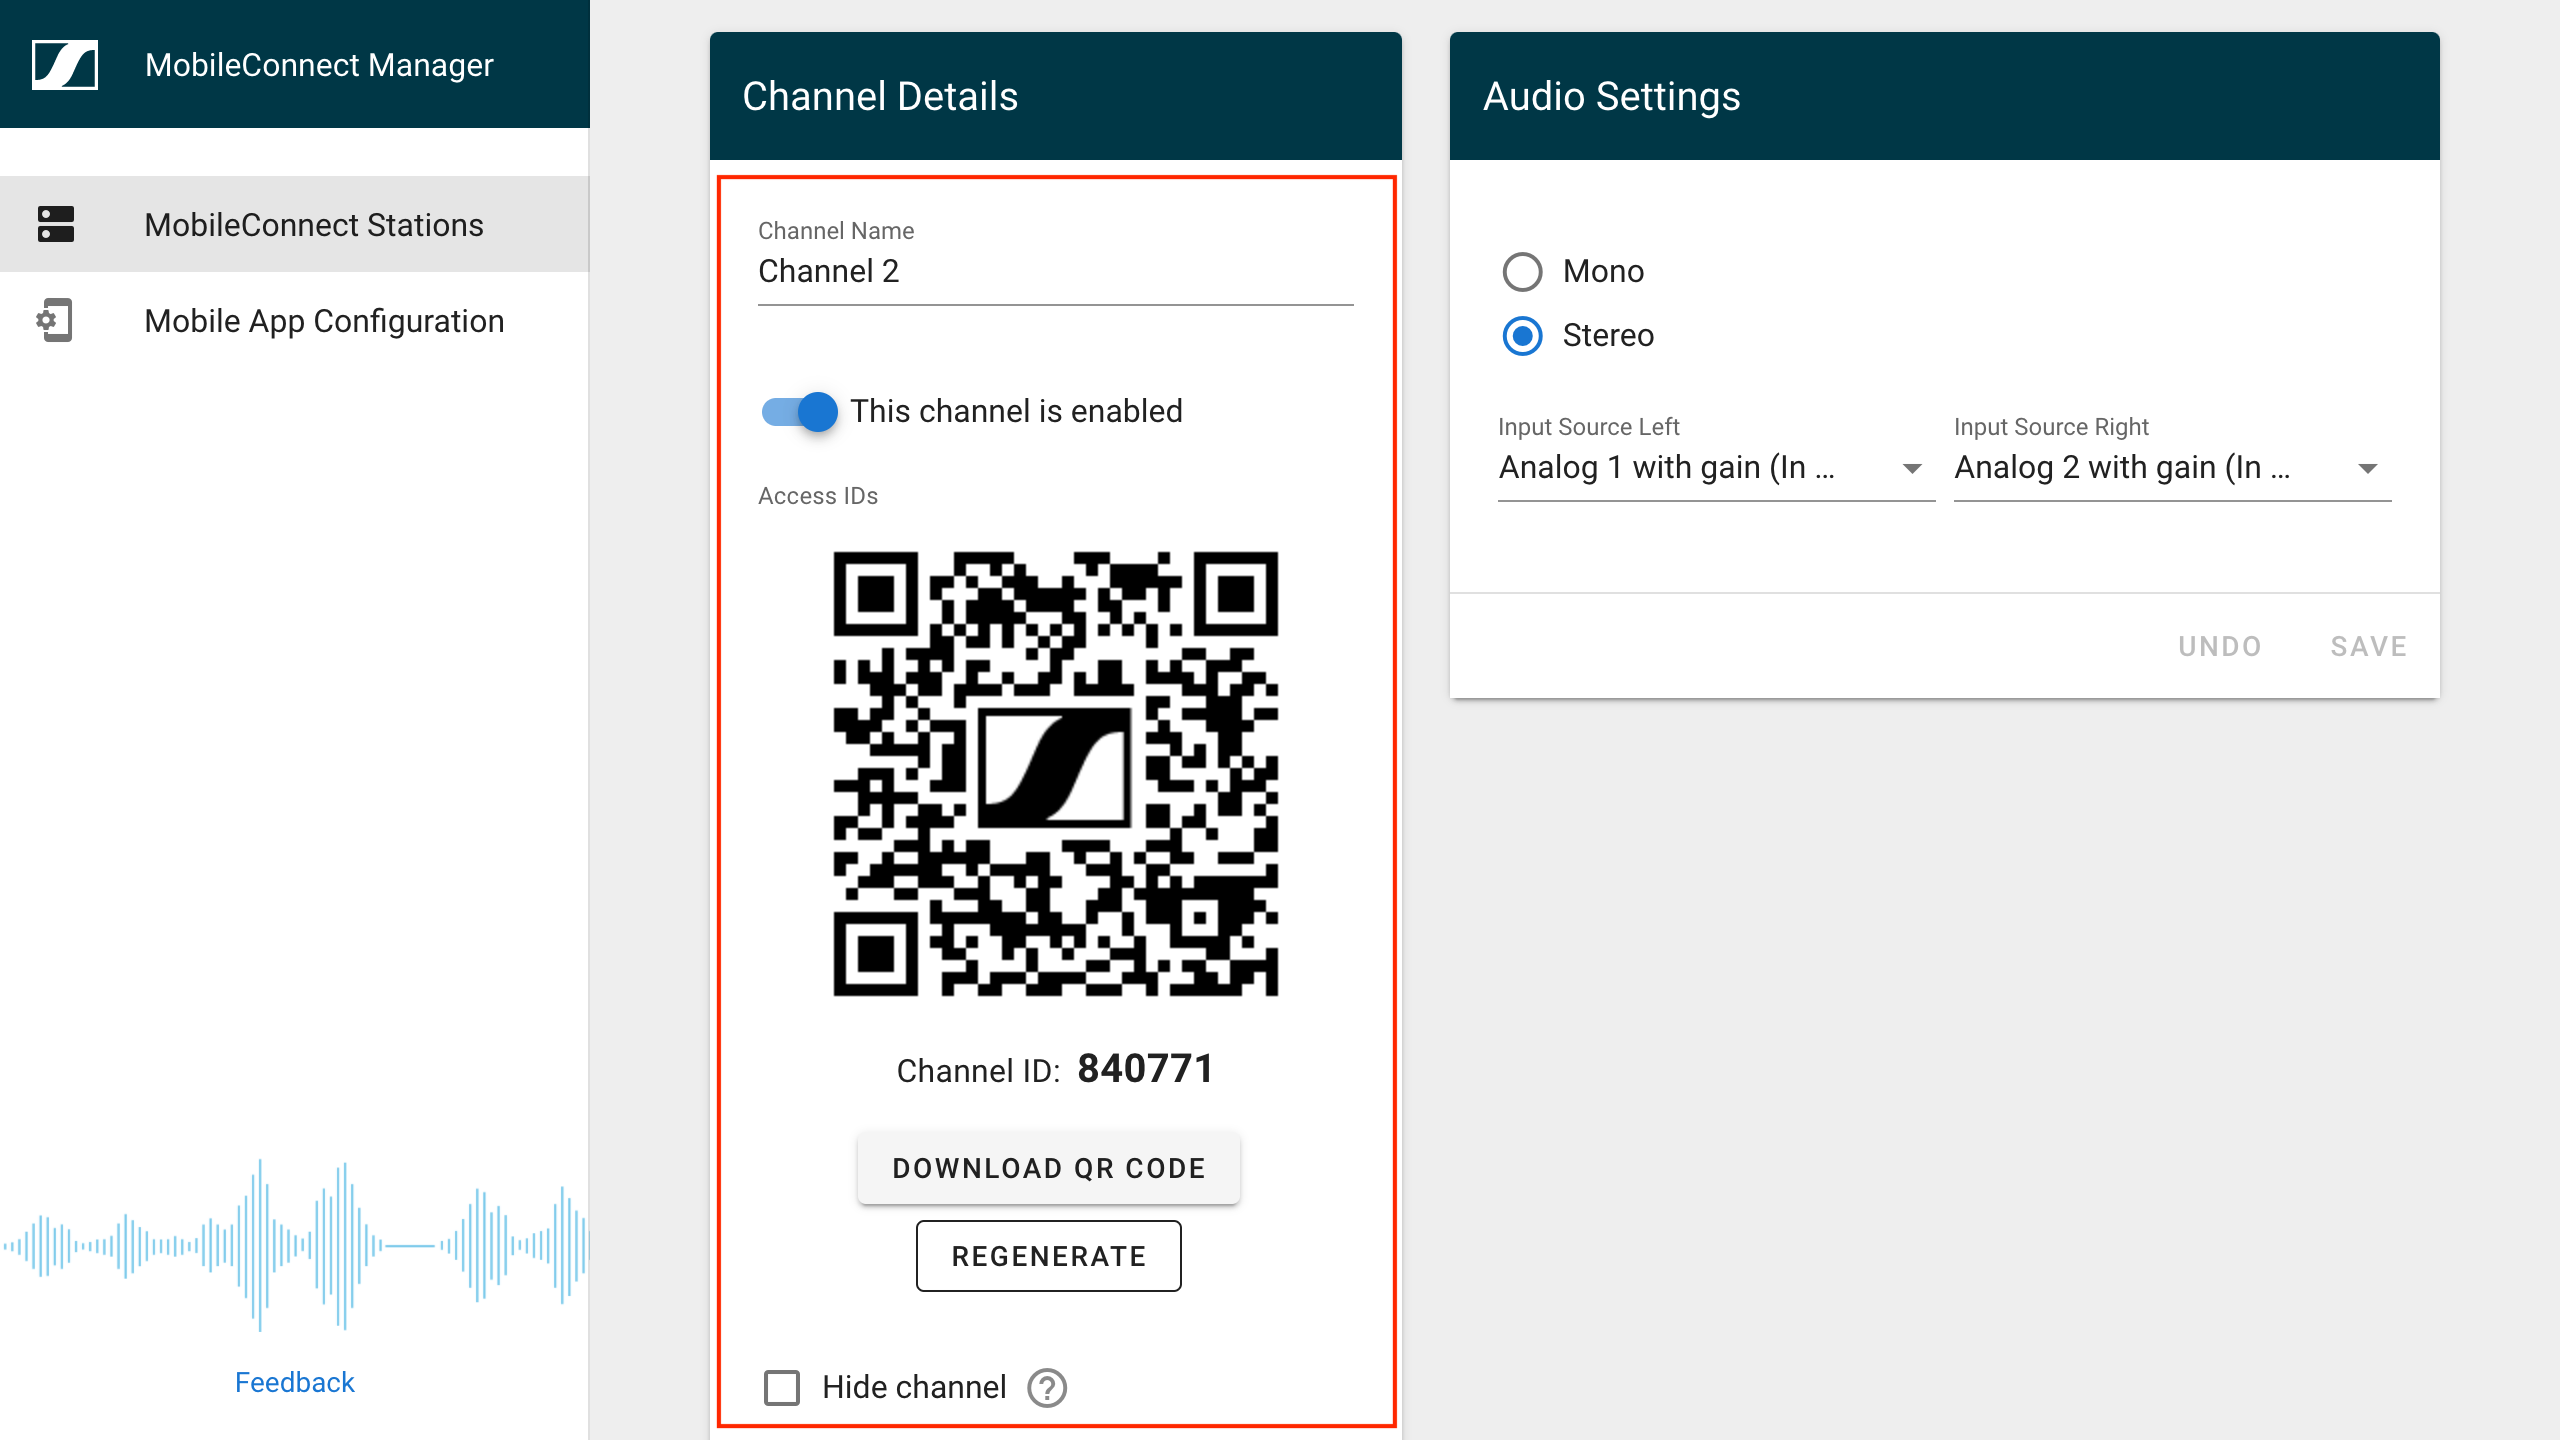
Name the channel so that it represents the distributed audio in a clear way to your app user.
Enable the channel if not already enabled.
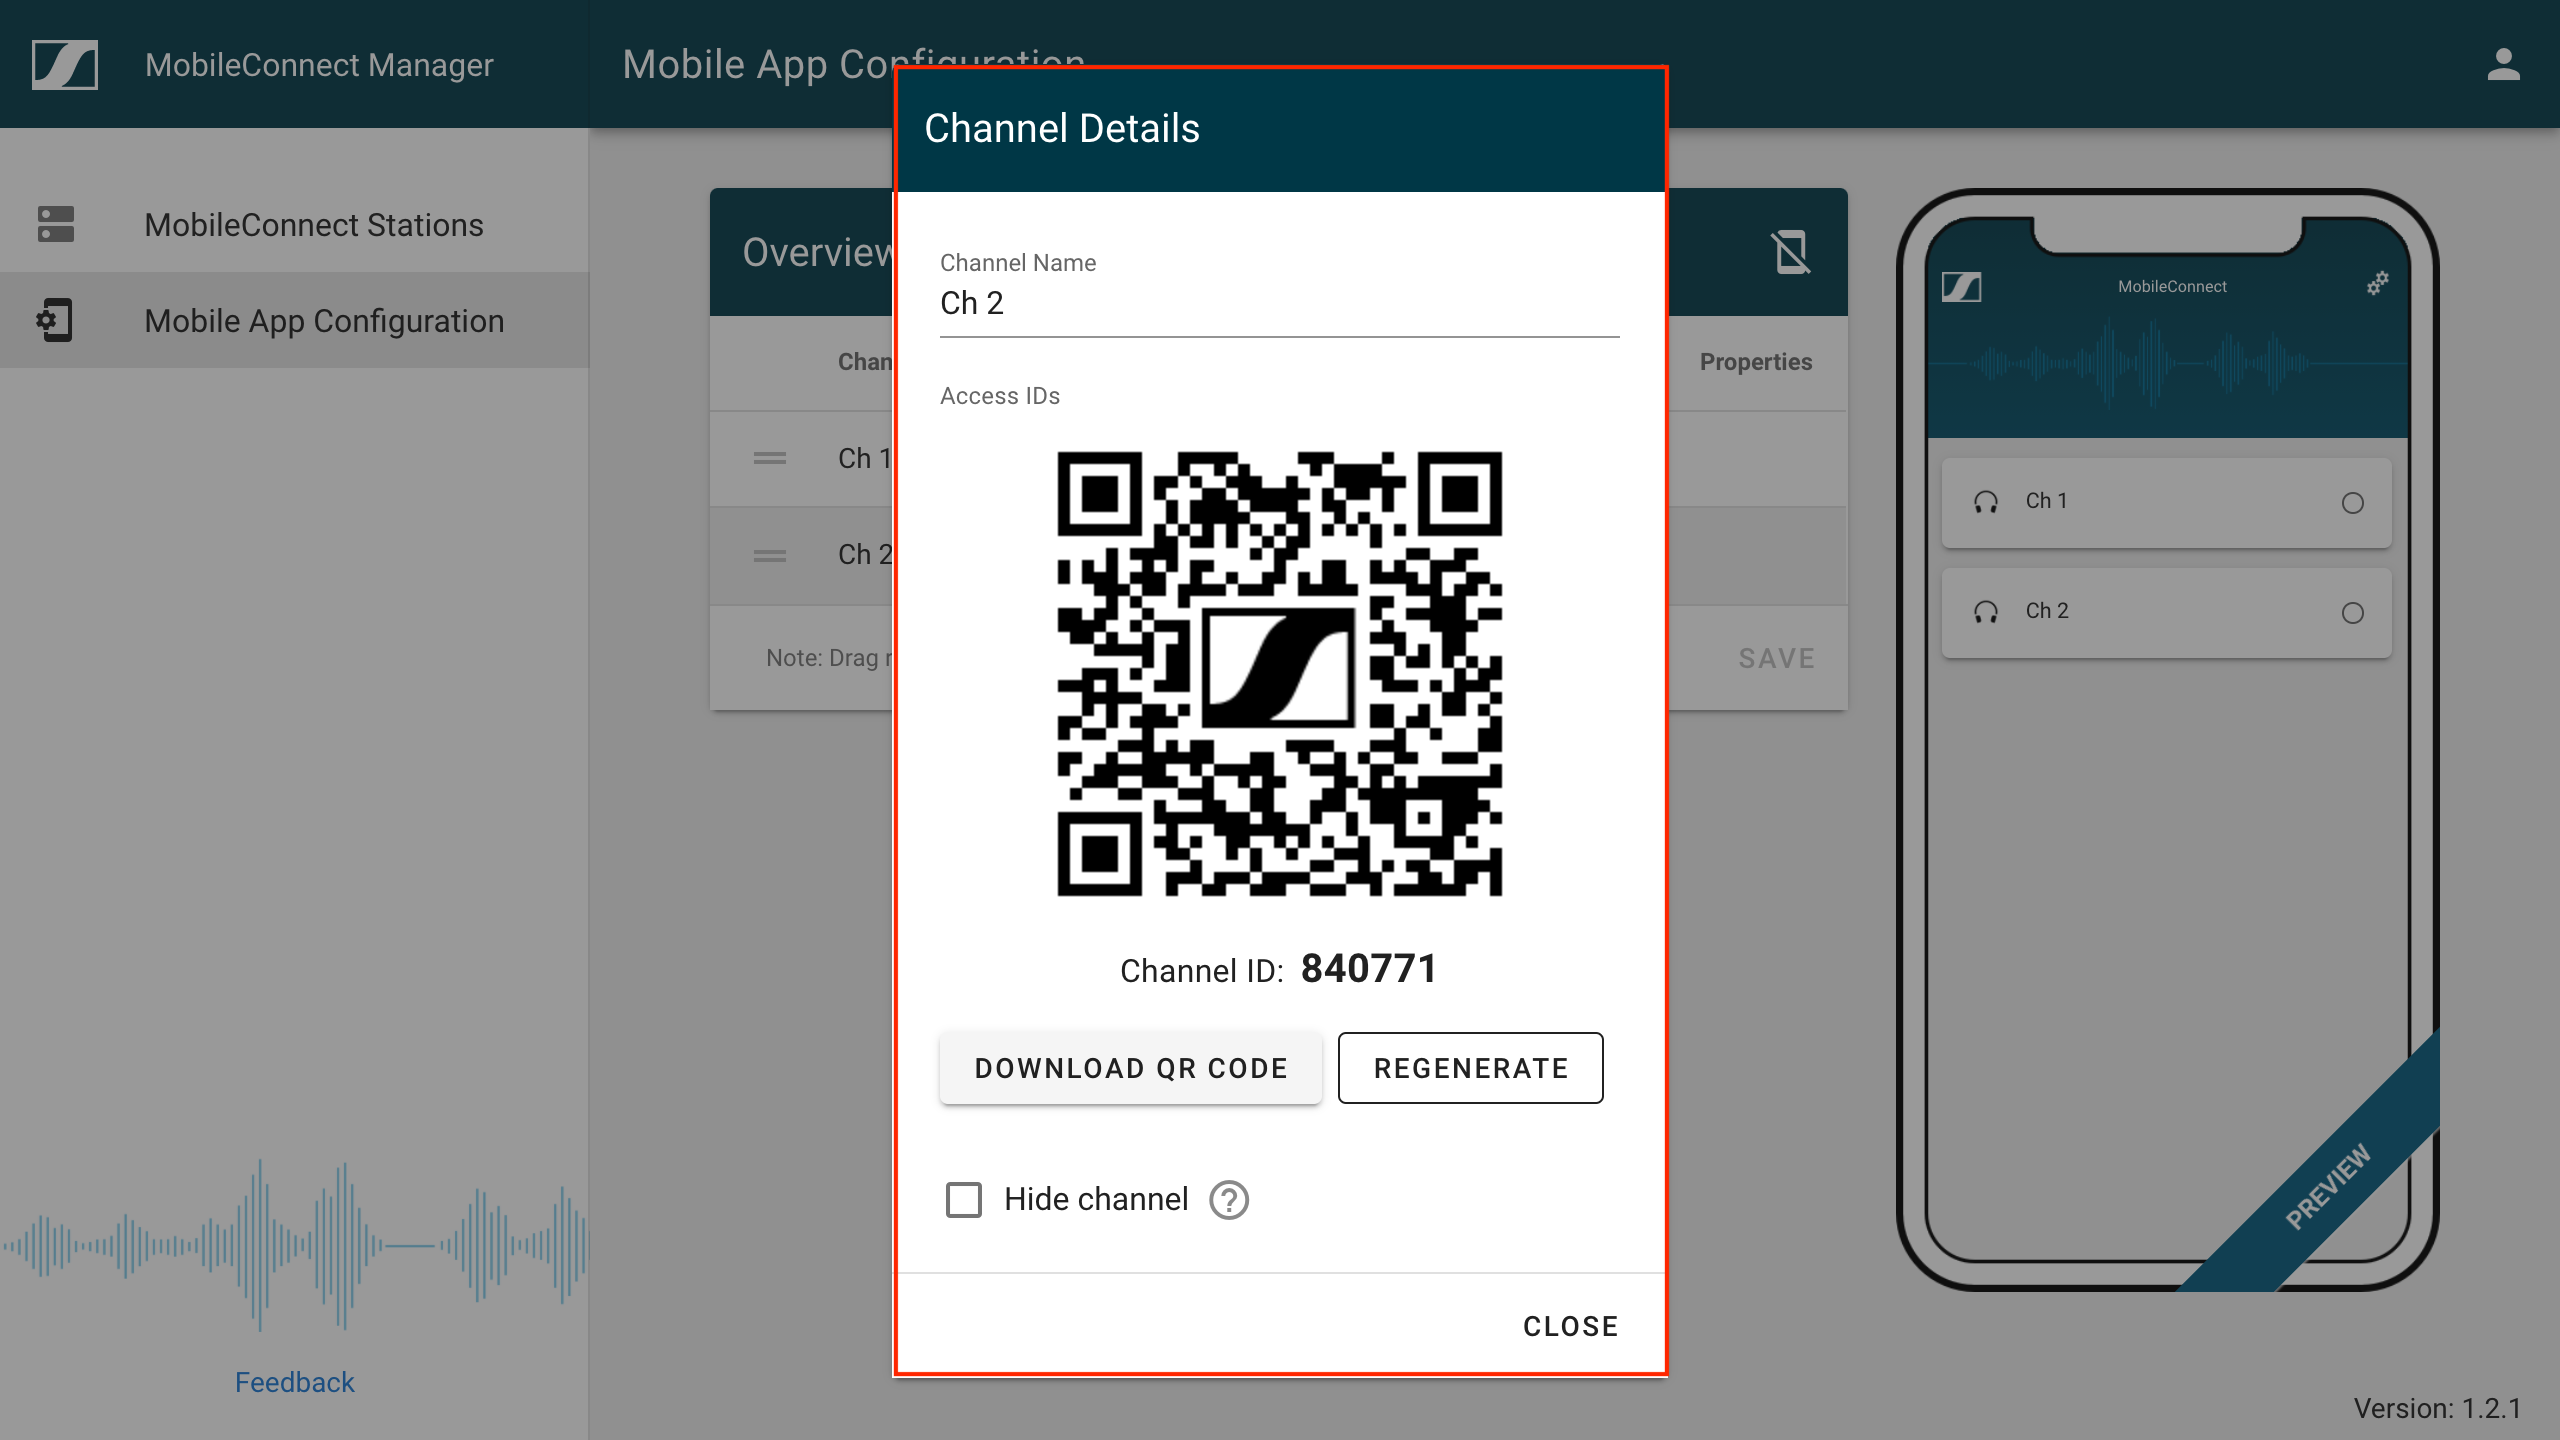
Download or Regenerate the QR code/Channel ID if required.
Hide/Unhide the channel if you want to make the channel invisible/visible within the MobileConnect App when it gets started on the app user’s device.
Note
With this feature it is possible to restrict the access of the channel to a specific group of app users that the QR code/Channel ID gets shared with.
Select if the channel should distribute a mono or stereo audio signal.
Select the audio input that should be used for the channel.
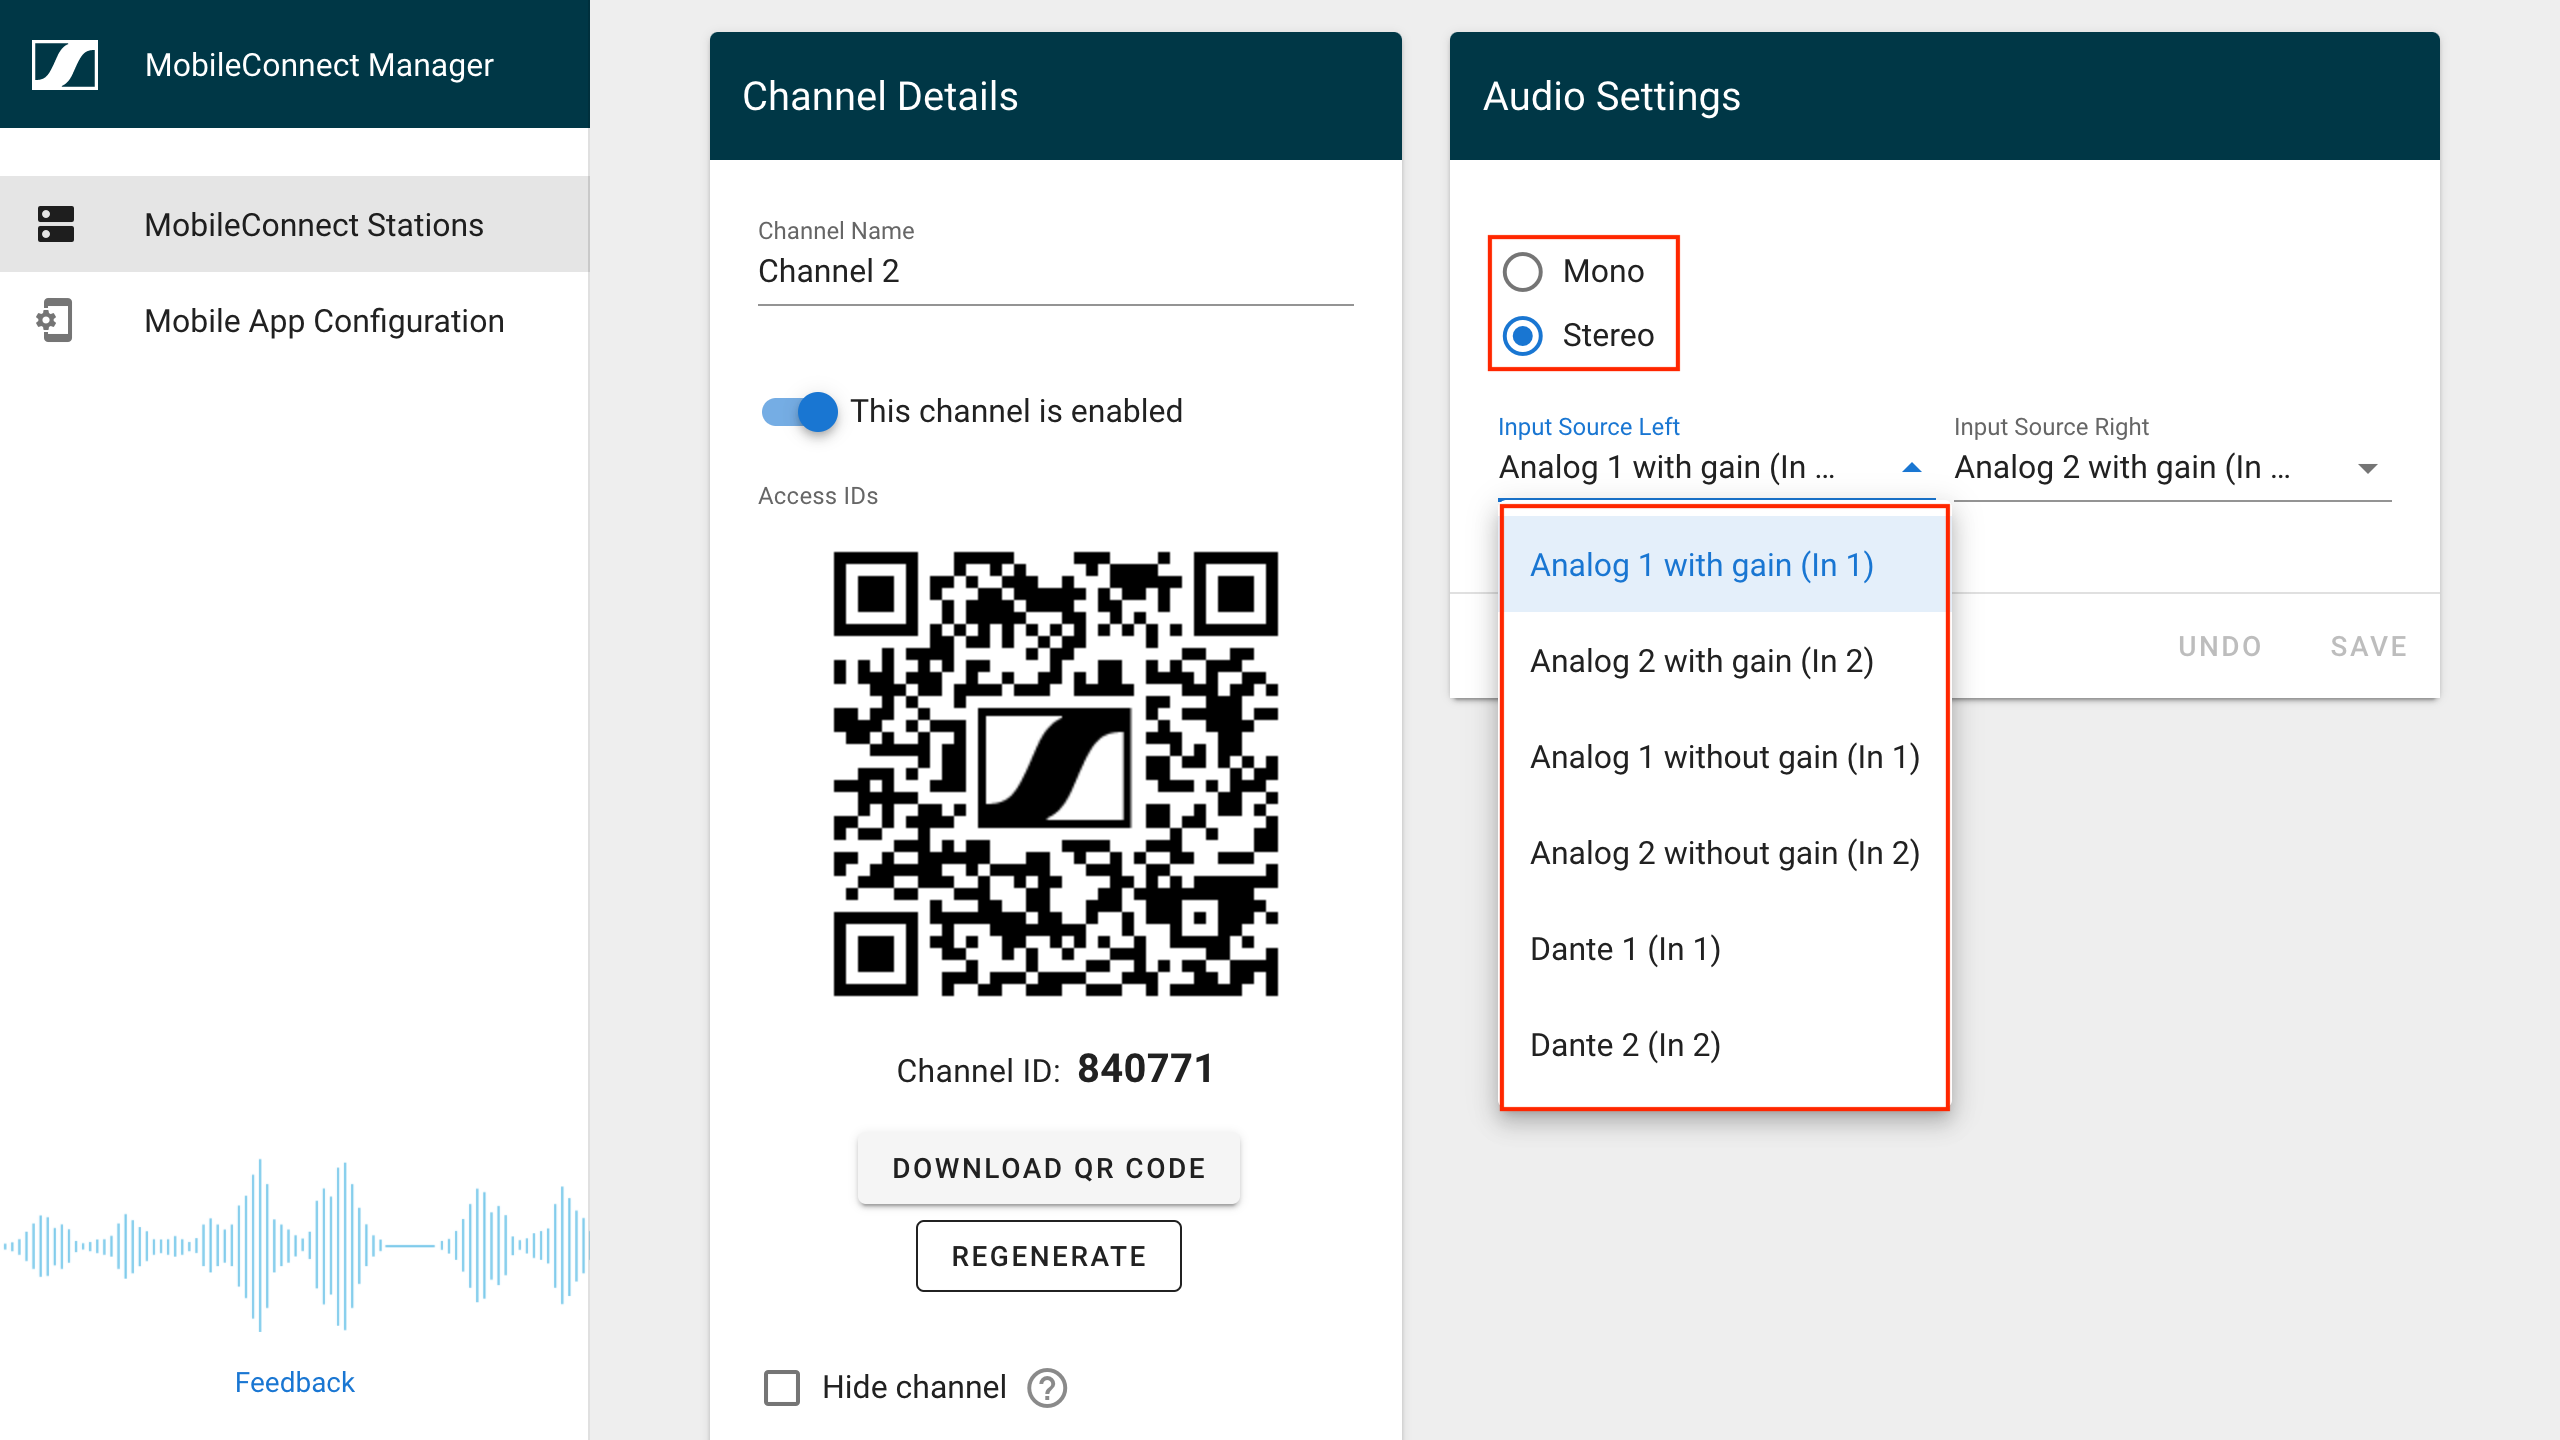
Click the SAVE button once you are done.
Step 2: Arrange/Order the channels for the MobileConnect App
Once the audio channels are configured it is possible to arrange in which order they appear on the MobileConnect App.
Open the Mobile App Configuration Page.
Arrange the audio channels using drag&drop of the list elements in the desired position. Changes will be visible in the app preview on the right side of the page.
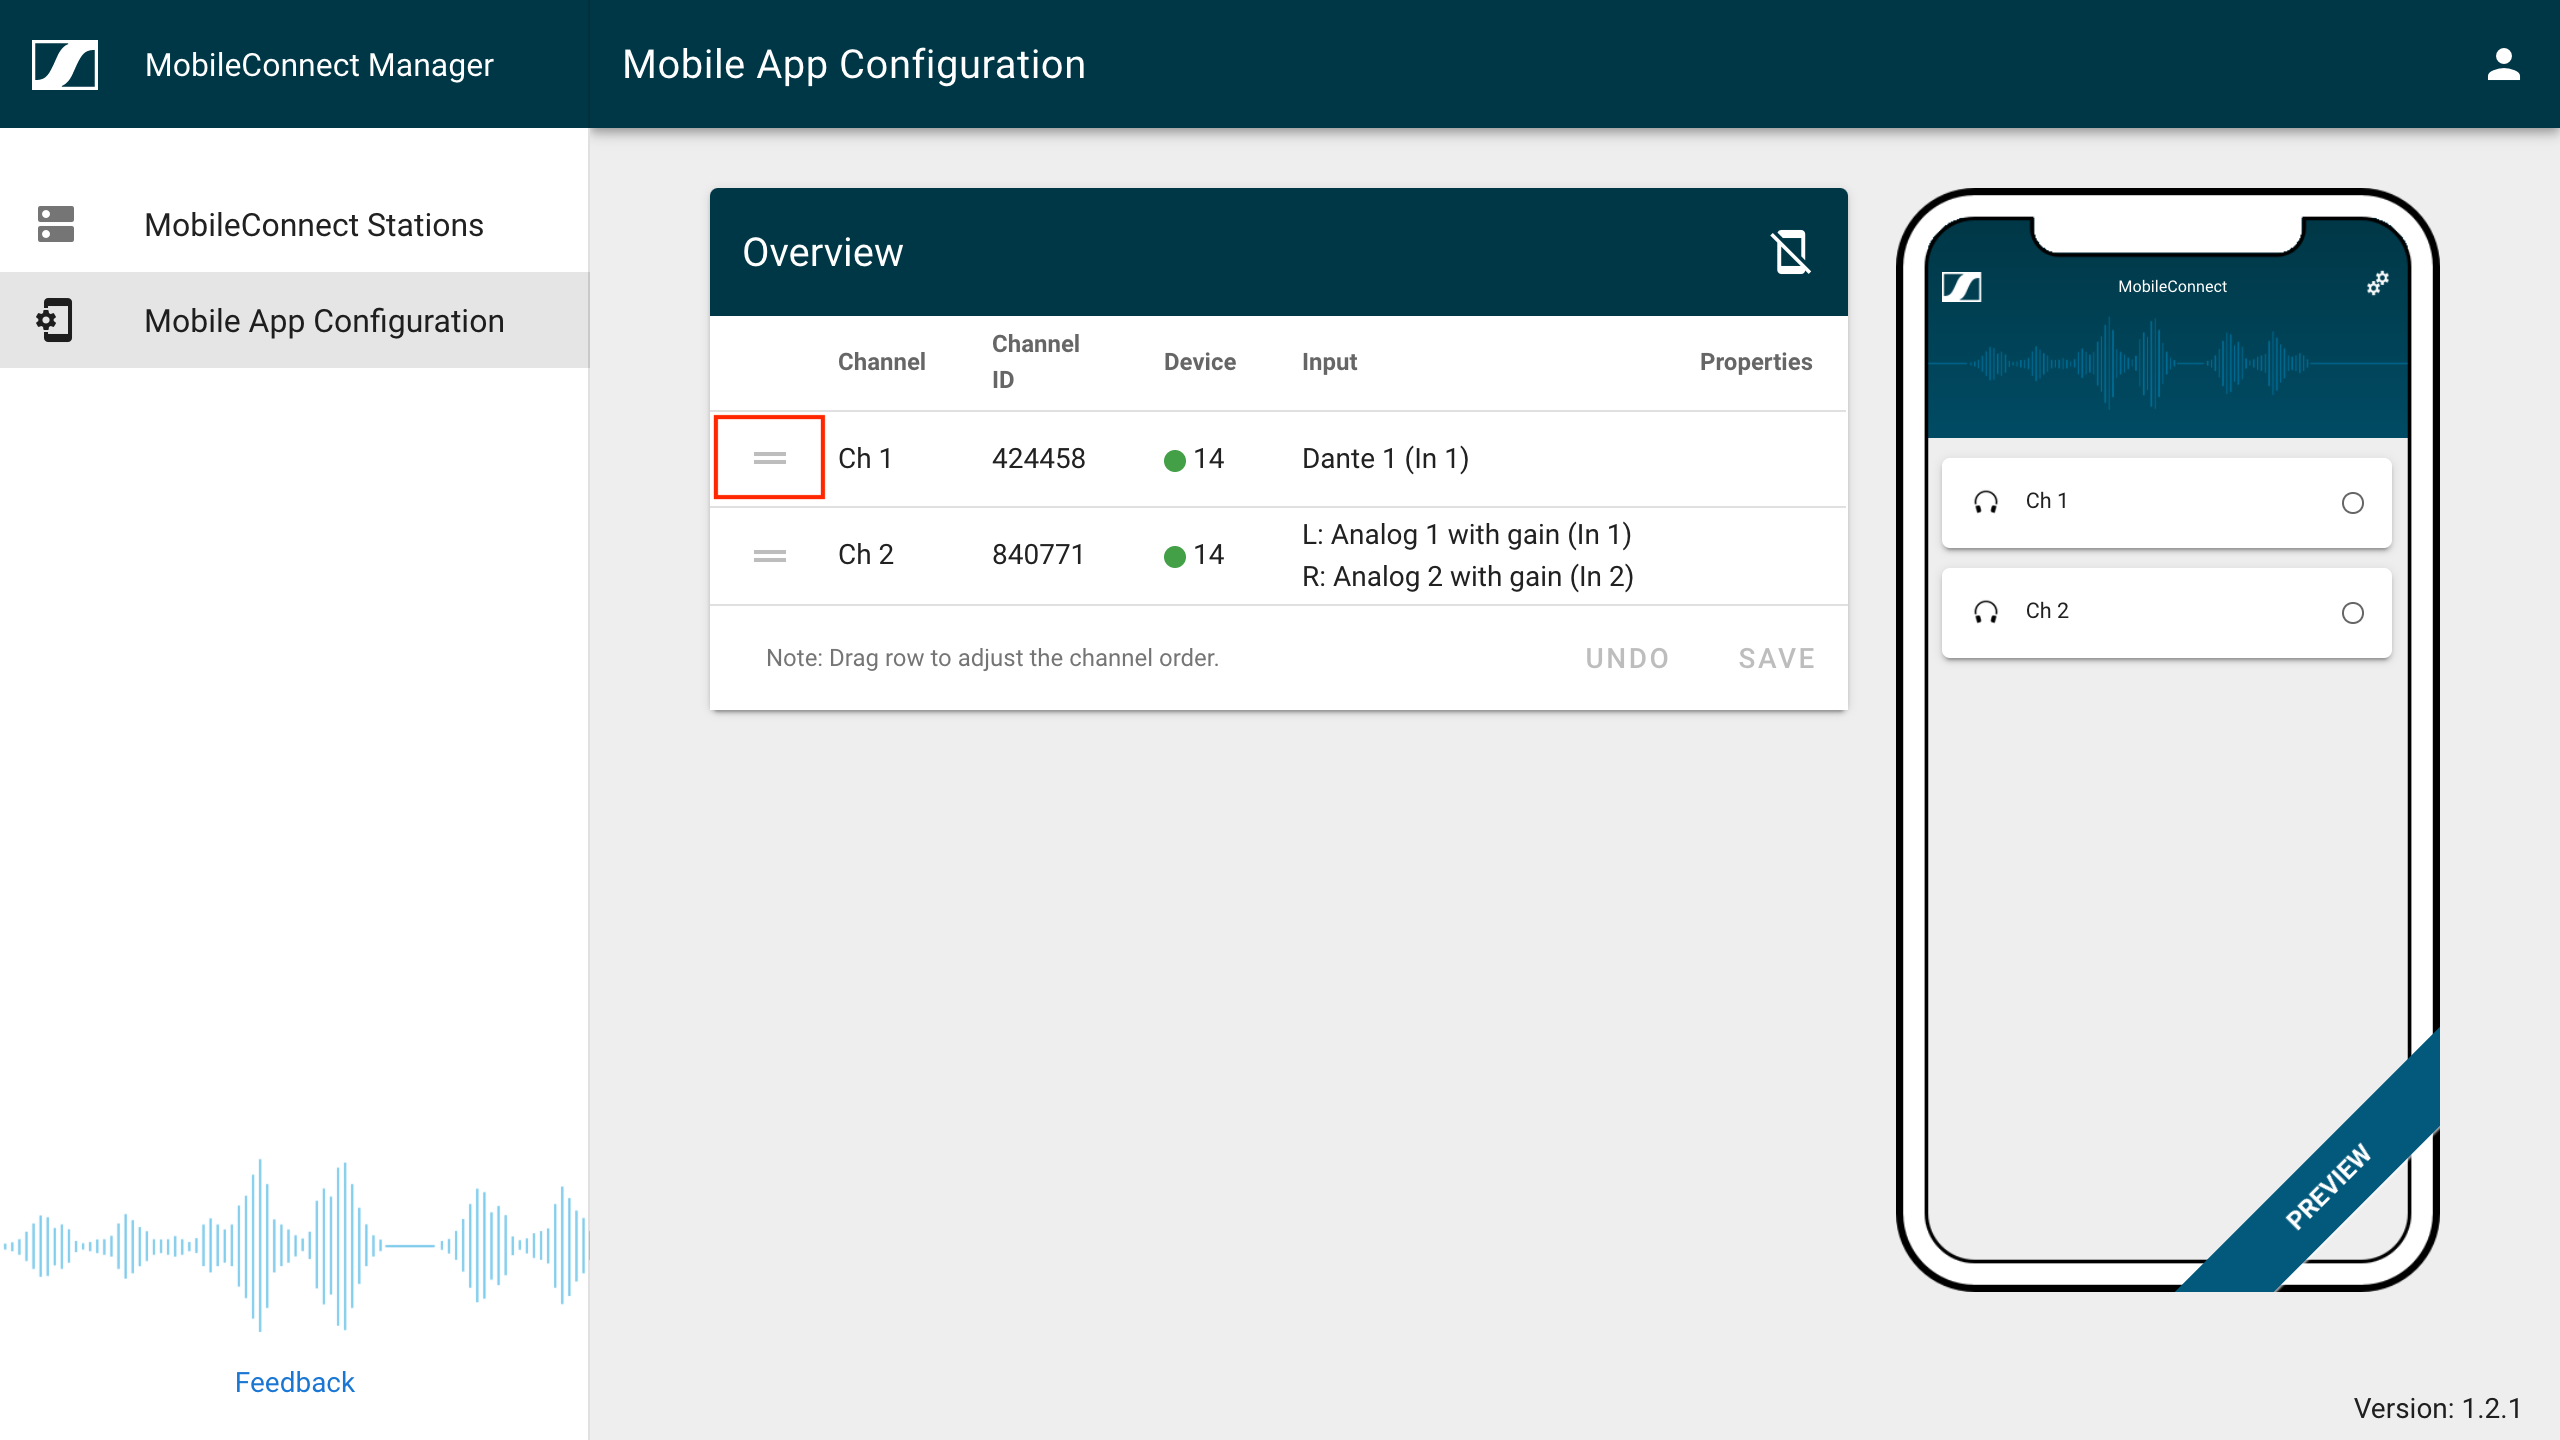
If required, it is possible to change some channel configurations directly within this view, by clicking on the channel.
Proceed with Step 5. Test with the MobileConnect App to install and test with the MobileConnect apps.